
11 Jul How To Install Sod: A Step By Step Guide
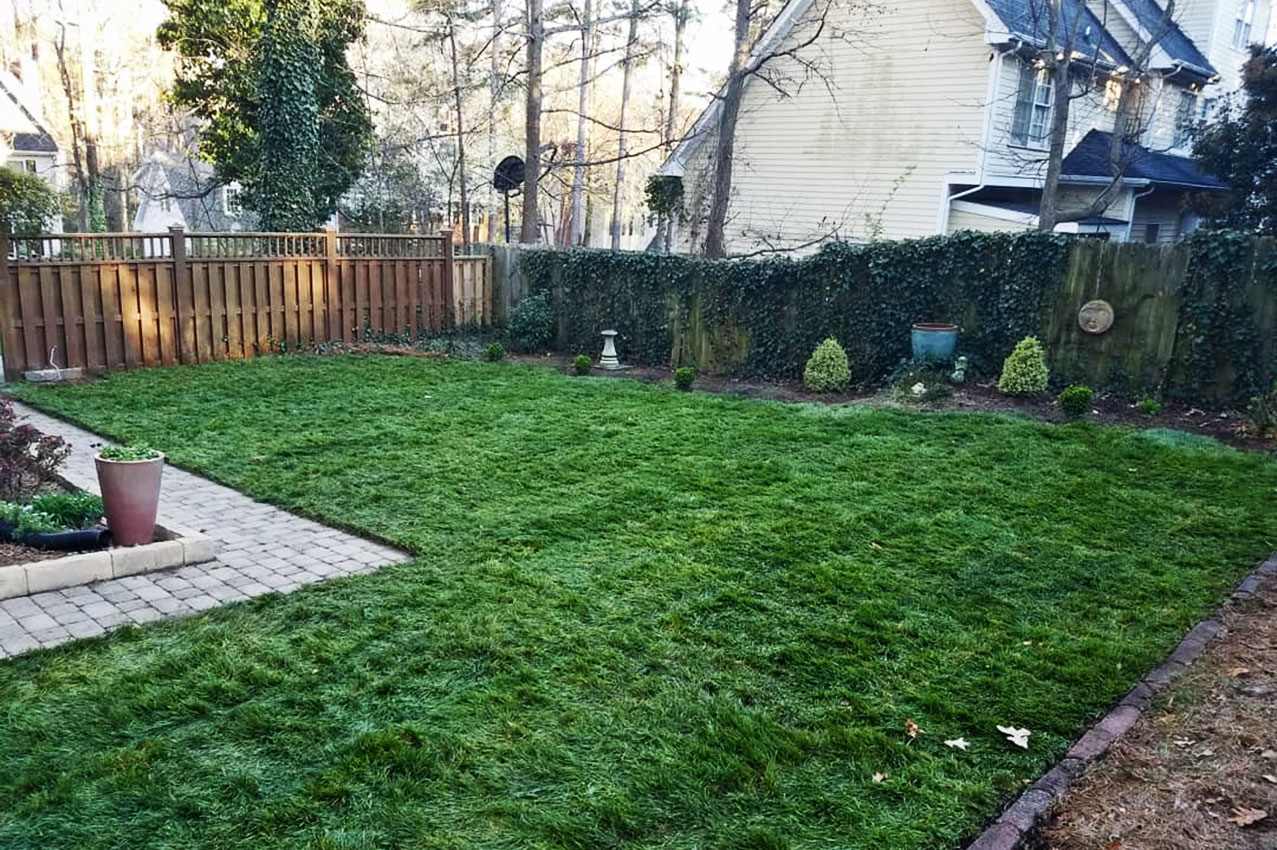
Your lawn is struggling. How do I know? Cause you are reading this, but it is okay. It will all be okay. Sod is a great way to get a restart. It is the fastest and easiest way to establish a lawn that you can be proud of.
Installing sod on your property sounds super easy, but there are a few important steps and techniques that can help you along the way and insure your new sod will have a long and happy life.
It is important to take the time to be sure you are installing your sod correctly and giving it the things it needs to be successful now. Getting the lawn you want quick comes at a cost. It is an investment that you don’t want to have to make again in a few years. Below I will give you a step by step guide on how to get your sod installed right and help your investment grow. See what I did there?
Step 1: Testing Your Soil
Preparing your soil for your sod is what is going to keep your new lawn happy and healthy over the long haul. Take the time to learn about your soil and prepare it properly so you don’t end up forking over money to start all over again with a new lawn wondering why.

The absolute first thing you need to do is take a pH test of your soil. You want your soil’s pH to be somewhere between 6.2 and 6.8. In this range, you your soil can fluctuate up or down slightly and you can feel comfortable about being in the preferred range.
There are any number of kits to test your soil’s pH on the interwebs, or at your local big box store of choice. As always, your local agricultural extension office is a great resource for all things concerning your soil and lawn. I think I have talked about getting your soil tested through your ag extension ad nauseum in previous posts, but it is always worth repeating I suppose.
If you are here in North Carolina, in all likelihood, you will need to add Calcitic Limestone to bring the soil’s pH up as our clay soil is naturally acidic. How much you need will be based on your your pH test, but in general you will need 2-4 pounds of per 1,000 square feet if your soil is mildly acidic.
Step 2: Prepare Your Lawn
It may be silly to say, but the first step in getting your lawn ready for sod is to remove whatever turf might be there now. There are any number of ways to skin this particular cat, but I tend to prefer spraying with Glyphosate to kill everything. You could also solarize your lawn with a large black plastic tarp if you have those sort of crunchy tendencies.
Alright, now is the time to fix any grading issues you may have with your lawn. It is especially important to level-grade if you plan on installing a warm season grass. Warm season grasses like to be mowed extremely short and without a level surface, it will be difficult to do this without scalping your lawn or having long patches in areas.
We need to address the quality of the soil. Is it porous, dark and loose? Is it red and compacted clay? It is important to get the structure of the soil correct as it will greatly affect water holding and releasing capacity and a loose soil structure is key to root development.
I wholeheartedly recommend amending your soil with certified compost worked into clay soil about an inch. The compost will give your soil the structure it needs as well as give a boost to the microbial and and biological life back into the clay sub-base. Topsoil will not accomplish this. Do not be fooled into using it as it is mostly made up of clay and will not give your sod what it needs to be happy and healthy.
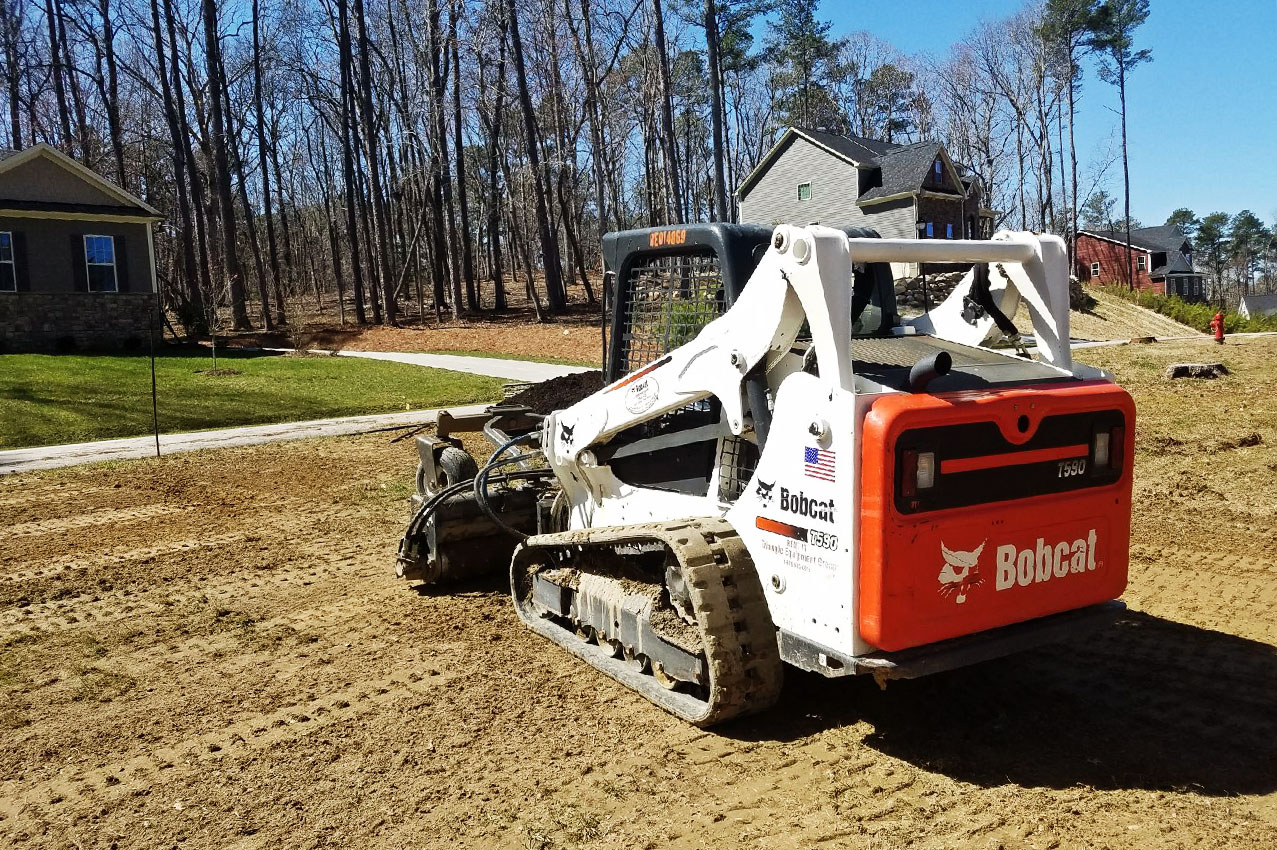
To get your compost worked in, I recommend renting a skid steer with a Harley Rake attachment. You’ll need to use your best Google-Fu to find a local equipment rental company in your area. The advantage of the Harley Rake over a tiller is that it only goes into the soil about an inch and will not affect the structure of the underlying soil leaving a flat and even lawn to work with.
Finish your preparations by raking the surface smooth and spreading fertilizer. I like to add the fertilizer at this step rather than on top of the sod. It gives the roots better access to the nutrients as it establishes itself.
Step 3: Purchasing Your Sod
Before you buy any sod, you’ll need to know how much area you need to cover. As I said, purchasing sod is an investment, and there is no need to make that investment large for no reason or find yourself short a piece of turf.
You can use Google Maps to get a rough estimate of your lawn size, but nothing beats getting outside and measuring it up right. I will trust that you remember enough high school geometry to figure this out or at the very least you have access to the internet and can figure it out from there.
When purchasing your sod, if this isn’t obvious, stay away from the box stores. Do some online research for your area and find a reasonably local sod farm that you can deliver fresh cut sod to you.
If you are asking what kind of turf to purchase, it is not for me to say. The grasses that will thrive and survive on your lawn will greatly depend on what part of the country you live in and the particulars of your property. Like all things, a little research will go a long way. Find out which zone you live in and what goes best there.
The last thing I will say on the subject of purchasing your sod is to schedule your sod delivery for the day you plan to lay your sod. It is important that you get your sod down as quickly as possible. If your sod needs to sit, for whatever reason, be sure to keep it moist.
Step 4: Laying Your Sod
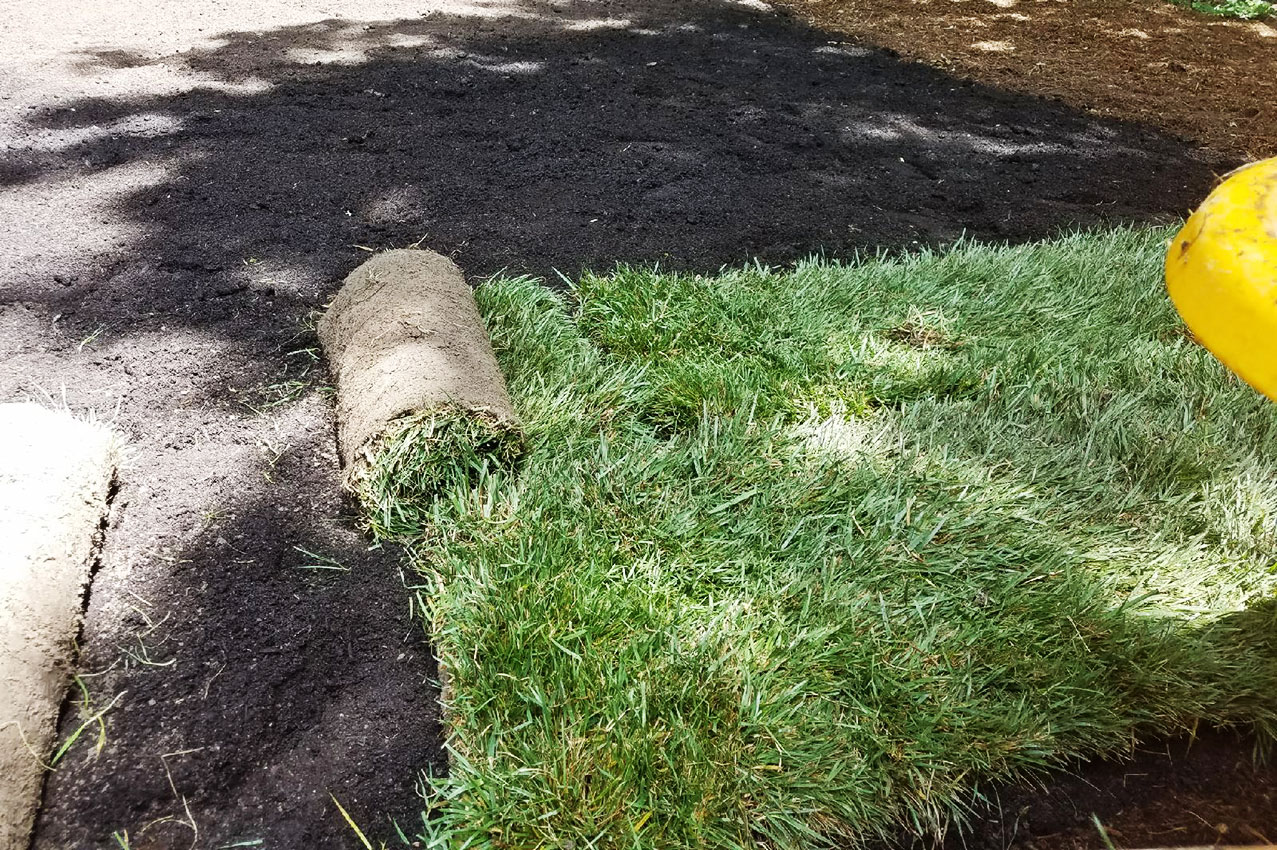
Your pH is in the correct range, you have graded and level soil to work on with good structure and microbial content and the fresh cut sod you ordered from a local farm just got delivered. It is time to carefully begin laying the sod.
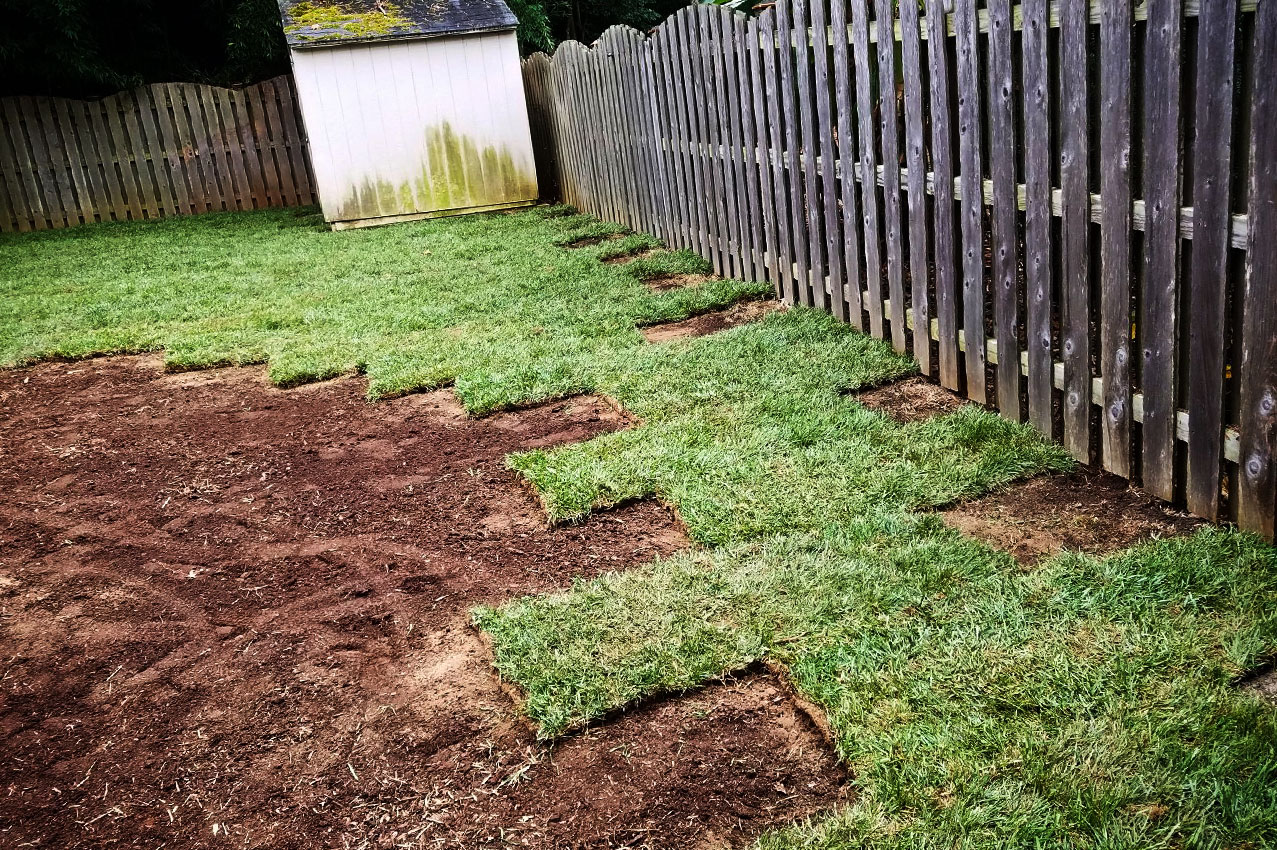
As you begin to lay your rows, stagger the seams like a row of bricks so that there are no long lines cutting across the lawn. Inevitably some of the edges of your sod will die out as they are the weakest part of the sod. A long connected line of of dead grass tends to look pretty bad and is more difficult to fix than a small isolated area.
In truth, this is the easy part. Laying sod is just hard work. That is probably worth repeating. Laying sod is hard work. The only bit that has any real level of difficulty of actually putting the sod down is cutting around hard surfaces, planting beds or other curved areas. A high quality and sharp machete is a great tool for these areas and make cutting your sod to shape fairly painless.
Now that all of your sod is installed and cut to shape, you need to gently roll it into place with a sod roller. Do not add a lot of water to your sod roller (Sod rollers can be filled with water to make them heavier). Too much weight can compact the soil that we just put a lot of time and effort into improving and loosening.
Step 5: After Care
After care for your newly installed sod is all about watering. Water your sod thoroughly and heavily the first time after finishing with the install. After that, I like to tell my clients to keep their sod like a wrung-out kitchen sponge, somewhere between wet and dry.
If that seems a bit vague to you, water for a few minutes first thing in the morning for the first few weeks should do the trick. Following the first few weeks, it is going to depend on the type of sod you selected. My best advice for you is to get online and do some research on the particular needs of your selected variety.
Try and keep traffic fairly low on the lawn for the first few weeks. You know, just don’t let kids, pets or rambunctious baby boomers run a muck on it for a little. Give it some time to get settled.
In terms of when to start mowing, there are too many variables for me to give you a even a rough estimate. It will depend on the time of year you decide to install your sod and the particular weather conditions. I tend to lean towards to safe side and wait.
Zoysia or Bermuda prefer to be mowed with a reel mower. Which can be an extra expense to maintaining these lawns. It is just something to consider, as it can be a heavy upfront cost. Powered reel mowers can get pricey, and they take longer to actually use. That said, it makes Zoysia and Bermuda grasses look amazing, and sometimes that is what is important to us.
Okay, I think that covers it for the how to on installing your own sod. I know that this post doesn’t answer every question and, in truth, no blog post on the internet will. Each lawn is a unique flower. You will have to put in the work to get to know yours and what it needs to look its best.
Sorry, the comment form is closed at this time.